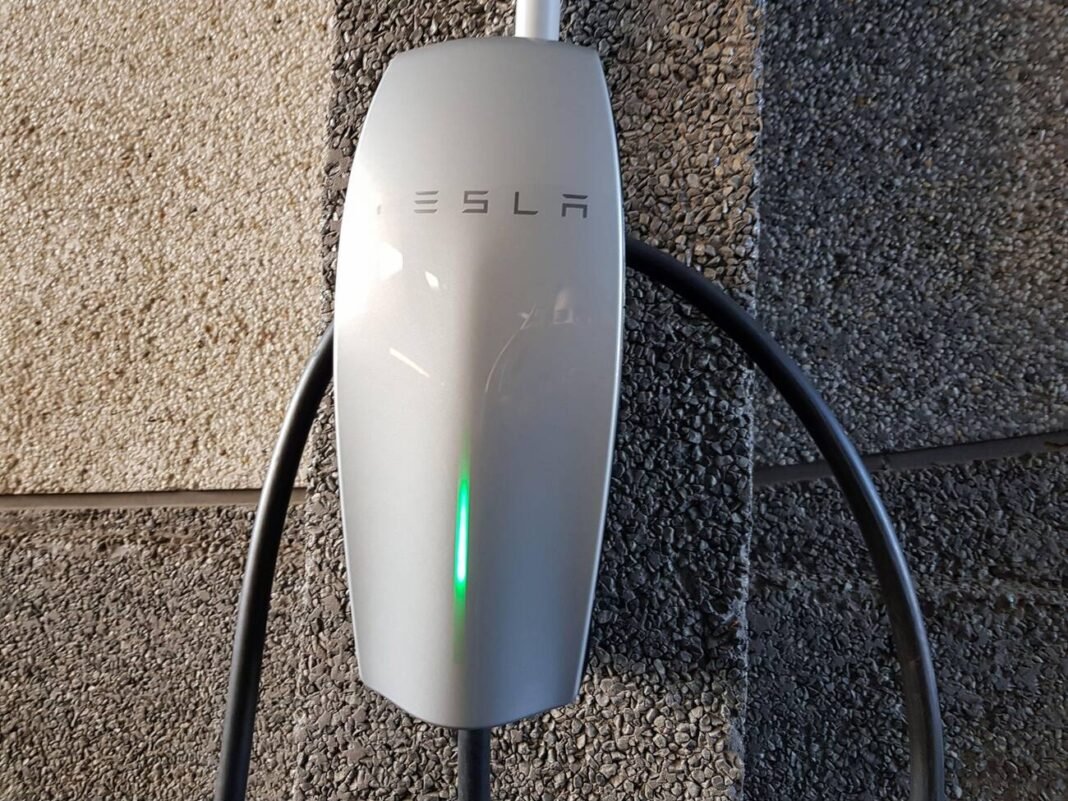
The Tesla power Wall setup stands as a fully-integrated AC battery system that revolutionizes energy storage for residential or light commercial use. It’s highlighted by its rechargeable lithium-ion battery pack, supporting solar self-consumption, time-based control, and backup, making it a vital component for those invested in renewable energy solutions.
This article will guide users through the installation process of the Tesla Powerwall 2, illustrating the steps from choosing the right location, preparing for installation, to commissioning and system integration. It aims to simplify the setup process, ensuring users can efficiently harness the power of their Tesla battery.
Choosing the Right Location for Your Powerwall Installation
Proximity and Space Considerations
- Near the Electrical Panel: Install the Tesla Powerwall 2 close to the main electrical panel to simplify wiring and connectivity.
- Space Requirements: Ensure there is at least 1.3 feet of clearance on each side and 5.3 feet in front of the Powerwall for optimal operation. It can be either wall-mounted or floor-mounted depending on your space availability.
Indoor vs. Outdoor Installation
- Environment Protection: While the Powerwall can be installed both indoors and outdoors, it should not be placed in direct sunlight or exposed to extreme temperatures. Choose a shaded, cool area to extend the lifespan of the battery.
Communication and Installation Requirements
- Gateway Proximity: The Tesla Gateway, which manages the system’s connection to the grid, should be no more than 100 feet away from the Powerwall to ensure effective communication.
- Internet Connection: A stable internet connection is crucial for system monitoring and receiving software updates.
- Certified Installation: Installation of the Powerwall should be carried out by a certified electrician to ensure safety and compliance with local regulations.
Structural and Safety Considerations
- Supporting Weight: The installation wall or floor must support the Powerwall’s weight of approximately 122 kg (269 lbs).
- Fire Safety: If installed within a dwelling, ensure that fire detection and protection equipment are in place as per local codes.
Compliance and Operational Conditions
- Local Codes and Permits: Verify and comply with local regulations and obtain the necessary permits before installation.
- Temperature and Noise: Install the Powerwall in locations with ambient temperatures between 0°C and 30°C for best performance, while noting that the unit emits a noise level similar to a typical refrigerator during operation.
Preparing for Installation
Materials and Tools Required
Before beginning the installation of your Tesla Powerwall 2, ensure you have the following materials and tools ready:
- Drill for creating a hole for back cable entry
- Internet setup equipment for Tesla Gateway
- Powerwall 2 AC Installation Manual
- Necessary permits and safety equipment as per local codes
Step-by-Step Installation Preparation
- Site Survey and Design: Utilize Tesla’s aerial and satellite imagery or conduct a manual site survey to finalize the system design. You can input layout preferences through your Tesla account.
- Permit Acquisition: Begin the process of acquiring necessary permits, which can take between 2 to 6 weeks depending on your location.
- Ordering Your Powerwall: Choose the appropriate system size based on your current and future electricity needs and order your Powerwall through Tesla’s website. Ensure you find a certified installer via Tesla’s network.
- Preparing the Installation Site:
- Clear the driveway and ensure safe access to your electrical panel.
- Ensure the installation wall or floor can support the Powerwall’s weight (approximately 122 kg or 269 lbs).
- Drill a hole corresponding to the back cable entry port for cable management.
- Safety and Compliance Checks:
- Follow all safety instructions provided in the Powerwall 2 AC Installation Manual to prevent electrical shock or injury.
- Check that fire safety and structural supports are compliant with local codes.
- Internet and Energy Meter Setup:
- Establish a stable internet connection for the Tesla Gateway to enable system monitoring and updates.
- Install energy metering for accurate solar and site energy measurement.
Installation Day Requirements
- Ensure an adult over 18 is present during the installation.
- Keep children and pets away from the installation area.
- Confirm that no other contractors are on site to avoid interference.
Post-Installation Steps
- Connect your Powerwall to the Tesla Gateway and ensure all cable entry points are securely managed.
- Use a smartphone, tablet, or laptop to commission the Powerwall system through the Tesla app.
- Register your Powerwall to secure the 10-year warranty, ensuring it remains connected to the internet for firmware upgrades.
By carefully preparing for the installation of your Tesla Powerwall 2, you can ensure a smooth and efficient setup process, allowing you to quickly begin enjoying the benefits of your new energy storage system.
Mounting and Connecting Your Powerwall
Installation Site and Mounting
- Mounting the Powerwall:
- Attach the Powerwall to a sturdy wall using the provided bracket and appropriate fasteners, ensuring it is anchored securely.
- Position the Powerwall on the bracket so that the mounting cleats are just above the bracket flanges. Use shims to level the Powerwall if necessary.
- Installing the Backup Gateway:
- Mount the Backup Gateway adjacent to the Powerwall on a level wall surface, ensuring it is enclosed in its protective casing.
Electrical Connections and Safety
- Wiring and Connections:
- Connect the main service conductors to the Backup Gateway Supply terminals.
- Attach home load panel conductors to the Backup terminals and non-backup panel conductors to the Non-Backup terminals.
- Install the Powerwall and generation circuit breakers on the DIN rail and connect line conductors, Neutral conductors, and PE conductors to the appropriate wiring bars.
- Safety and Compliance:
- Ensure proper earth connection and Neutral-to-Physical Earth (N-PE) bonding to maintain safety during operation.
- Comply with local codes for AC disconnect, interconnection requirements, and fire safety equipment.
Finalizing the Installation
- Making the AC Power and Communications Connections:
- Connect the AC power conductors and equipment grounding conductor from the Backup Gateway to the Powerwall.
- Attach the 4-conductor communication cable between the Powerwall and the Backup Gateway.
- Energy Metering and Device Setup:
- Install energy metering components to accurately measure solar and site energy.
- Use the provided tools and supplies to ensure all connections are secure and tidy, including conduit, grounding rods, wire nuts, and cable ties.
Tools and Supplies Checklist
| Required Tools | Description |
| Cordless drill | For mounting brackets and enclosures |
| Nut drivers (7/16 in, 5/16 in) | For securing connections |
| Level | To ensure proper alignment |
| Tape measure | For precise placement |
| Wire stripper | For preparing electrical connections |
| Screwdriver | For terminal and cable installations |
| Required Supplies | Description |
| Conduit | To protect and organize wires |
| Grounding rods | For system grounding |
| Grounding wire | To connect grounding components |
| Wire nuts | For secure wire connections |
| Cable ties | To manage and secure wiring |
By following these detailed steps and using the specified tools and supplies, the Powerwall installation will be robust and compliant with safety standards.
Commissioning and System Integration
Final Inspection and Utility Approval
- Building Inspection:
- Schedule a final inspection with your local building department to ensure all installations comply with regional codes.
- This inspection typically occurs after the complete setup of the Tesla Powerwall 2.
- Utility Approval and Permission to Operate (PTO):
- After passing the inspection, Tesla submits the necessary documentation to your utility company.
- The approval process for PTO can range from one to six weeks. Tesla will notify you once PTO is granted.
System Activation and Monitoring
- Activating Your Powerwall:
- Follow the instructions provided by Tesla to safely turn on your system.
- Ensure all electrical equipment is closed, and the breakers and enable switches for all Tesla equipment are turned on.
- Connecting to the Tesla App:
- Register and connect your Powerwall to the Tesla app for comprehensive energy management.
- Monitor energy data, solar and energy value, utility rate plans, and more through the app.
Advanced Settings and Maintenance
- Advanced Settings:
- Utilize the Tesla app to adjust settings like backup reserve, storm watch, and vehicle charging during power outages.
- Keep the system’s firmware up to date for optimal performance and new features.
- Maintenance and Troubleshooting:
- Regularly check system alerts and notifications for maintenance prompts or troubleshooting needs.
- Schedule service through the Tesla app or contact Tesla support for assistance.
Connectivity and Security
- Ensuring Internet Connectivity:
- Connect the Powerwall to Wi-Fi or Ethernet to maintain internet connectivity for remote monitoring and updates.
- Verify the system’s connection status through the Tesla app.
- System Security:
- Secure your system by regularly updating passwords and monitoring access through the Tesla app.
Documentation and Support
- Accessing Installation Documents:
- Download and review Powerwall installation documents from Tesla’s website or through the Tesla app.
- These documents provide detailed instructions and guidelines for both users and installers.
- Ongoing Support:
- Utilize resources available through Tesla for any additional support or to learn about becoming a certified installer.
- Stay informed about service schedules, warranty details, and system upgrades.
Conclusion
Through the outlined steps in this comprehensive guide, installing the Tesla Powerwall 2 has been demystified, ensuring that users can confidently integrate this cutting-edge battery system into their homes or light commercial spaces. By adhering to the detailed preparatory, installation, and commissioning procedures, individuals are empowered to leverage renewable energy efficiently, optimizing self-consumption and enhancing energy resilience. The manual not only emphasizes the practical aspects of installation but also underscores the importance of safety, compliance with local codes, and the necessity for certified professional involvement.
The broader implications of adopting Tesla Powerwall 2 extend beyond individual energy independence, contributing significantly to the global shift towards sustainable energy consumption. By meticulously preparing for and executing the installation of a Powerwall 2 system, users play a pivotal role in this energy transition, marking a step forward in mitigating environmental impact. As this guide concludes, it serves as a reminder of the innovative strides being made in renewable energy storage and the potential for these systems to shape a greener, more sustainable future, suggesting further exploration and adoption of renewable energy solutions.
FAQs
How do I install a Tesla Powerwall 2?
To install a Tesla Powerwall system, you must ensure that the Islanding Controller (or Backup Gateway 2, or Powerwall+ if applicable) is connected to the internet. Once the system is energized, use the Tesla mobile application and follow the path ‘Energy Field Work’ > ‘Tesla Device Setup’ to configure your Powerwall.
Is it possible for me to install a Tesla Powerwall on my own?
Installing a Tesla Powerwall requires a certified professional. The system, which includes a Backup Gateway or Backup Switch, is designed to power your home during grid outages. When paired with solar panels, it can store excess solar energy for use when there is no sunlight. For safety and compliance, a Tesla Certified Installer must perform the installation.
Do I need a gateway to install a Powerwall 2?
Yes, a gateway is required for the installation of Powerwall 2. This gateway acts as a relay between your solar system and the Powerwall, ensuring that when the grid is down, your solar system can still charge the batteries without sending energy back to the grid. The installation of a gateway is a code requirement to manage the flow of power and isolate your home’s power from the grid.
Can the Tesla Powerwall 2 be installed both indoors and outdoors?
The Tesla Powerwall 2 can be installed both inside and outside your home. Tesla recommends indoor installation in cold climates, especially if long power outages are expected. In hot climates, it is advised to avoid direct sunlight by keeping the Powerwall in a shaded area. Direct sunlight can increase the temperature inside the Powerwall’s enclosure beyond the ambient outdoor temperature.


